Sometime I might want to make more than one board from a set of templates…Here’s how I do that…This method is similar to a CNC cutter in it’s ability to replicate parts over and over…At a fraction of the cost and it’s something I can do without outsourcing…
You’ll need a few things…Your paper templates, some 1/8” plywood for the underlying template, some 1/4” -3 ply plywood, wood glue, some ½” brads or pin-nails, a handsaw and a router with a ‘rub collar” guide and a ¼” straight cut router bit…
First, I’ll create the lines and curves that are the Stringer, Ribs and Outer Frame Rails on 1/8” plywood…You simply transfer a paper Template Kit to 1/8” plywood by tracing around the templates…Next I’ll cut away the parts, either with a knife or a saw…
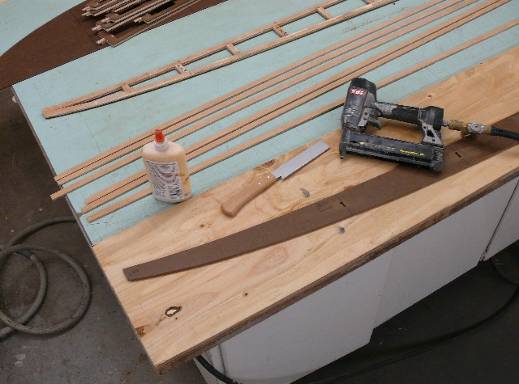
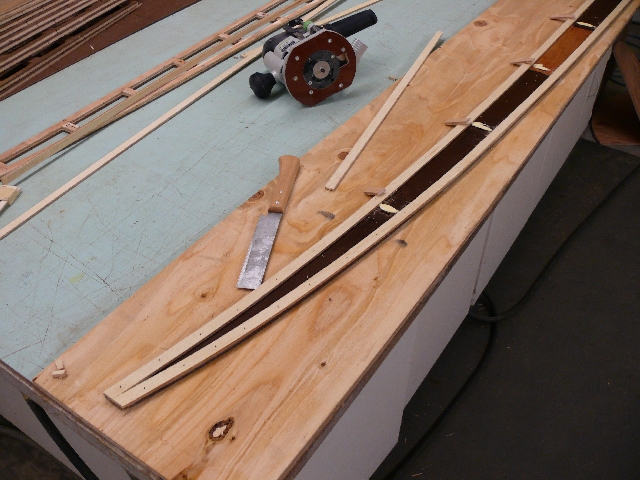
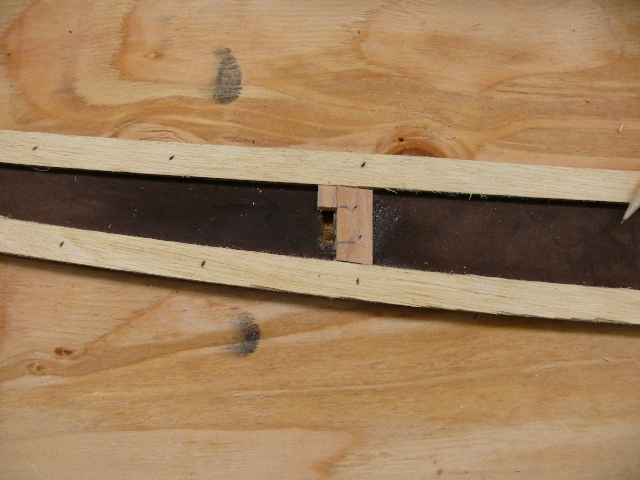
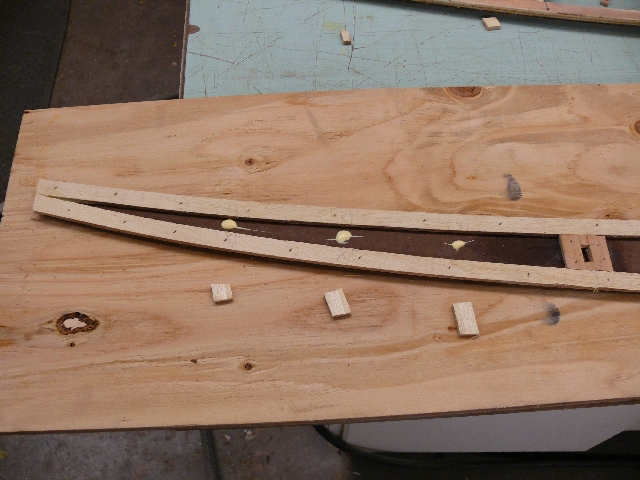
Once I have a part, in this case an Outside Frame Rail for an 11’6” Paddle Board (the dark brown hardboard piece), I’ll cut a few 8’ strips of ¼” 3ply plywood… The strips for this project are 5/8” wide…You can see I also have some wood glue, a hand saw, a nail gun with ½” pin nails…Underneath the hardboard template is a piece of ½” plywood…It’s sacrificial in that it will get routered into later…
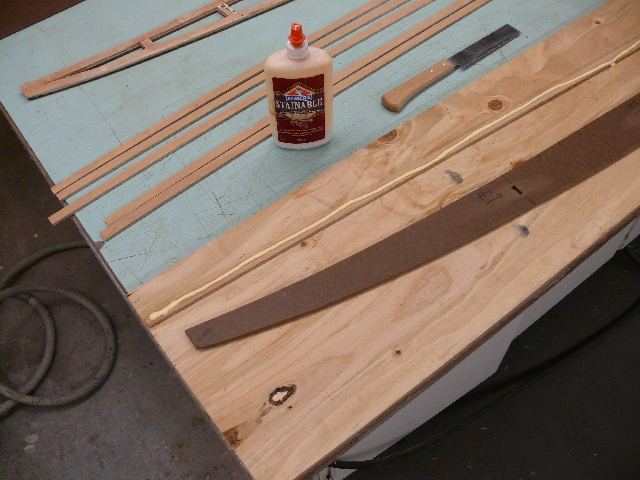
Here I’ve spread some glue on a strip of the ¼” thick plywood…
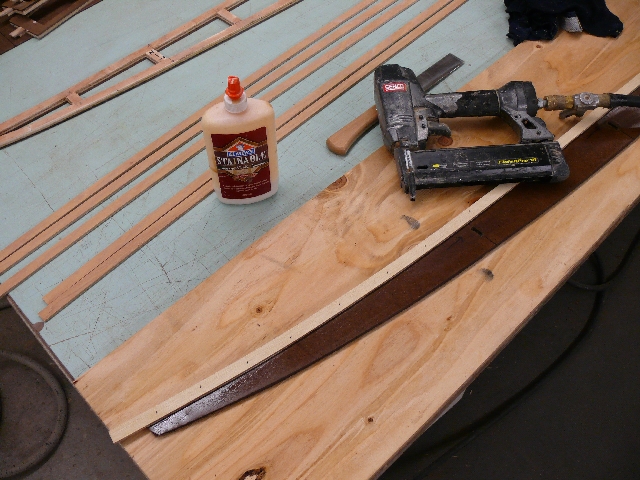
One minute later, I’ve pin-nailed the ‘flexible enough’ plywood strip to the hardboard template…Start in the center of the board and work to the ends…Be sure the plywood strip is flush with the edge of the template…You’ll be surprise by the flexibility of the plywood strips…
The bottom strips is now glued and nailed…So far so easy…
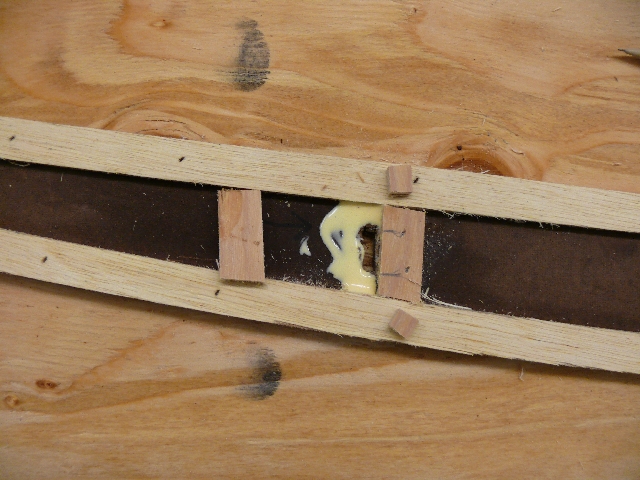
Since this is an Outer Frame Rail and I’m wanting to make more than one board and have the assembly easy, I’ve decided to have the Ribs have tabs that will go through the Rails…There are pictures below that will show that, but now I’m adding vertical plywood strips that are at the Rib / Rail contact points…Above, the pieces are all cut and a gob of glue is dropped…
You with me so far…???...When I cut out the template I chiseled out holes that are where the Rib pegs will penetrate the Rails…If you do not want or need to build your board this way, skip down seven pictures in this section…
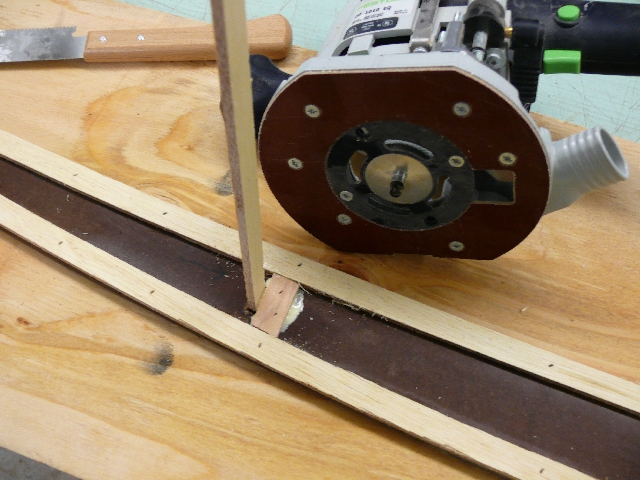
OK advanced builders, above you can see a couple of things…First is the router base…It has a ¼” bit in it and a Rub Collar guide bushing…Eventually all these 5/8” plywood strips will be guides for the Rub Collar to move against while the router bit cuts away the stuff we don’t want…The goal is to removerexcess weight…The other thing you see is the piece of 1/4” plywood inserted into the Rail Template…It’s there temporarily to give me a clue to where to place the vertical Guide Strip…I eyeball a small gap between the Rail Notch and where the Rub Collar will ride…Once in the right place, I pin-nail the strip to the template…
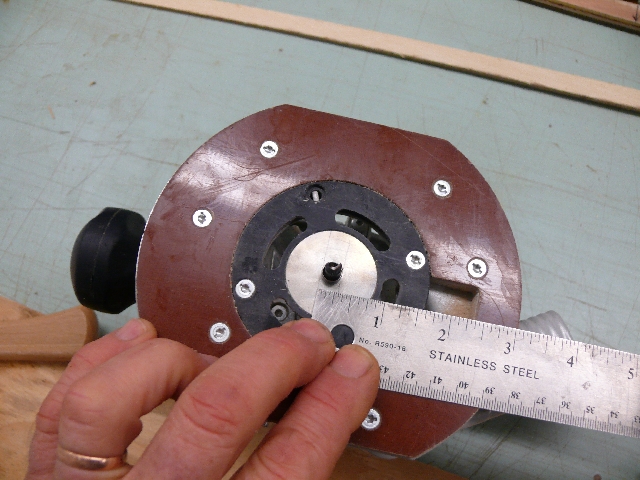
This Rub Collar needs 5/16” clearance…
So I cut a strip of plywood a bit wider than 5/16’’…
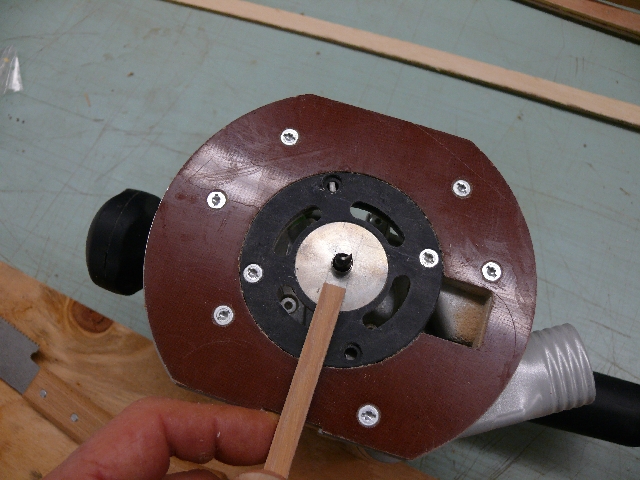
From that strip of the 5/16”+ wide ply, I cut a piece to mark the top of the Rail notch…No glue yet…
The bottom piece of 5/16”+ is cut as well as the other vertical 5/8” wide piece…Glue is placed…
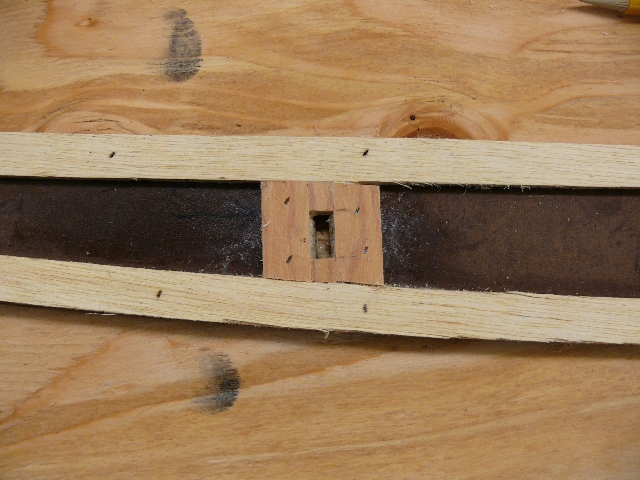
Then pin-nailed…Not the 5/16” pieces, they’d split…Glue alone is fine…
Welcome back all you non-Rail penetration folks…
Above you can see the other vertical Router Guide Strips ready to glue and nail…I spaced these about 3” between each other…Enough vertical support for the purpose…
Glue dropped and ready to nail…I like to do an entire series of actions…Cut all the strips…Spread all the glue…Nail all the pieces, instead of going one by one…Production…
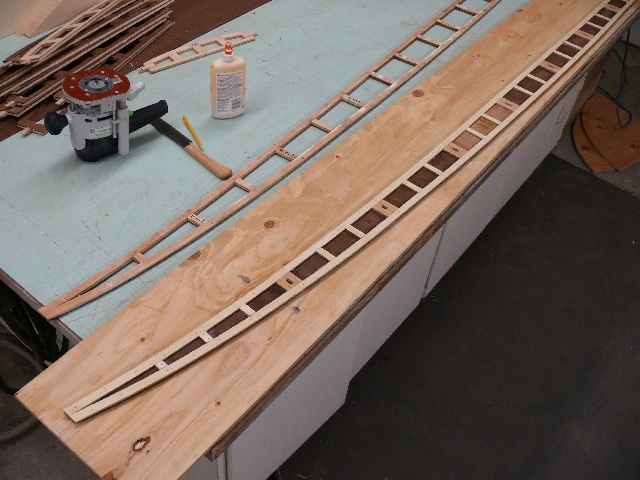
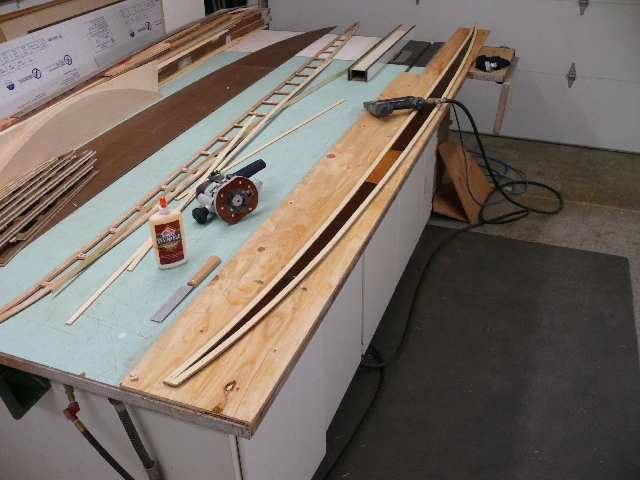
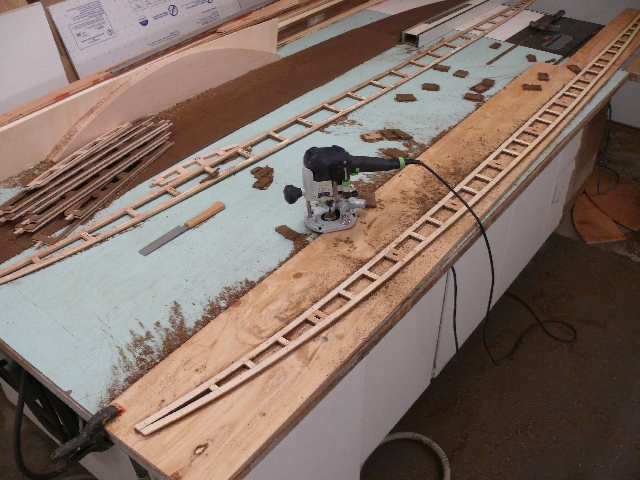
Elapsed time so far, about a half hour…Ready to router…
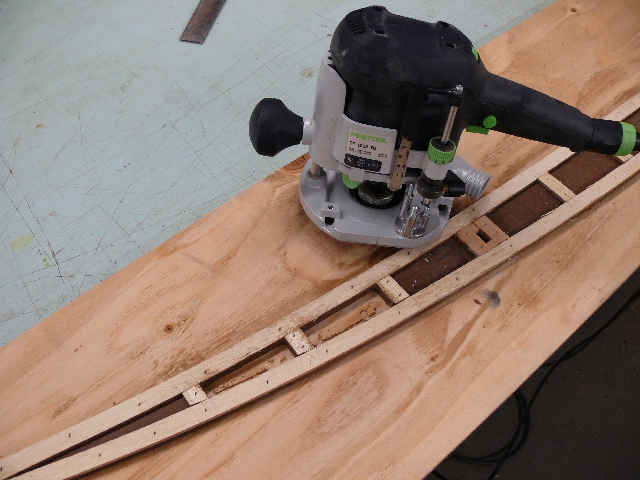
Simply place the router between the guides and have the Rub Collar follow the guide strips around each opening…Set the depth about ½ way or maybe 1/3 of the way through for the first pass…Your router will appreciate not having to work overly hard…Make another pass or two at lower depths until you are through the template material and into the sacrificial plywood below…
What it looks like after the first pass…
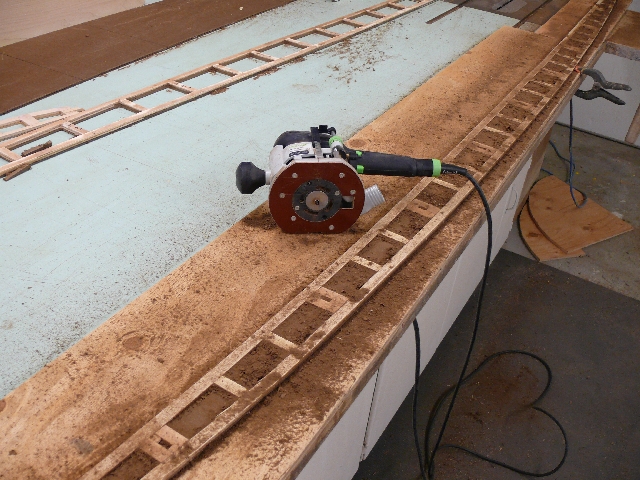
And after the last pass…With a putty knife carefully separate the Templates from the sacrificial plywood…Sand down any pin-nails that stick through the templates…
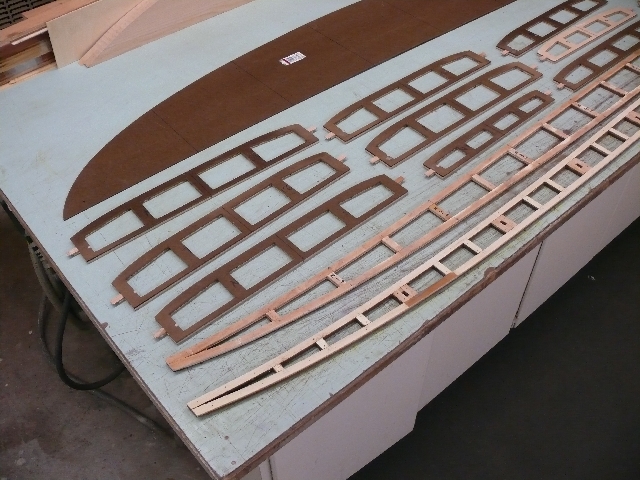
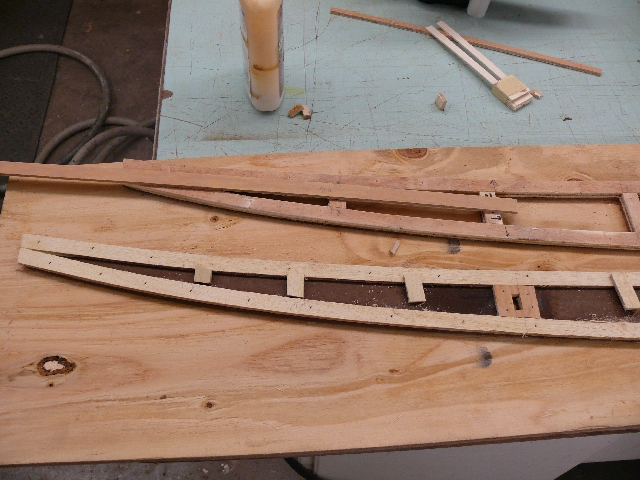
Alright, as you can see all the patterns are done…All of them were created the way I just described…
To use the Router Patterns to make the real board parts, I again get the sacrificial plywood and on top of it I lay the real plywood that will be the parts, then on top of that I place the Router Patterns…A few pin-nails through the patterns, the real plywood and into the sacrificial ply is next..Use the router and cut out the parts as you did above…Clean up the mess and you’re ready to assemble the frame…!!!...
Copyright ©2008- Paul Jensen